Auto-detect first; manual choice is saved
Auto-detect first; manual choice is saved
Kig Skin-Tone Match: Keep Shell and Wrists in the Same Scene
Compare the shell rim, neck cover, wrists, ankles, tone cards, and target lighting together before asking a maker to choose the body-layer color.
Contents
Now · First ask what the color must match
Quick take
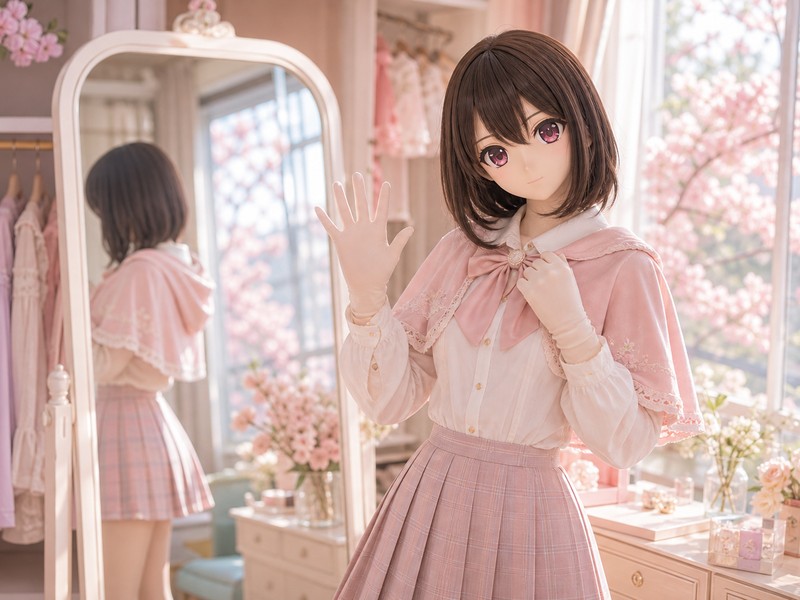
A filtered warm-peach photograph can be attractive without deciding the order. Place the shell rim, hadatai fabric, tone cards, wrists, ankles, and exposed garment edges in one frame, then compare natural light, indoor light, and the target scene. Clear references and unacceptable color shifts work better than vague requests for “a little lighter.”
First ask what the color must match
Kig skin tone is not a color chosen in isolation. It has to connect with the most visible baseline in the final character image. In many setups that baseline is the head-shell face and neck transition; if the costume exposes shoulders, arms, legs, feet, or an open back, those areas enter the same color decision.
If the shell is already available, gather photographs of the shell, neck area, fabric sample, and exposed costume plan together. If the shell is still in production, state that clearly and use maker tone cards, character references, and the expected lighting scene as temporary planning material.
- Shell available: prioritize shell face, shell rim, neck, and fabric in one frame.
- Shell not available yet: use maker tone cards, character art, and target lighting as a provisional plan.
- High exposure: include shoulders, wrists, legs, and ankles.
- Covered outfits: tolerance can be wider, but neck and hands still need review.
- Listings that say multiple tones or color matching still need questions about tone cards, shell context, stretch lightening, and target light.
Context beats a single swatch
Tone card1s are useful, but they are not the final picture. The real question is whether the head shell, independent neck, wrists, costume edges, and camera white balance still read as one character body when they appear together.
A buyer photo that shows shell, neck, and hands in one frame is more useful than a polished flat color block. If only flat fabric is visible, record it as a color clue, not as a finished match.

- Check the face and neck transition for obvious separation.
- Check wrists and ankles because close-up photos often expose small tone gaps.
- Check costume edges such as straps, sleeves, skirt hems, socks, and collars.
- Look for consistency across multiple photos, not one best-looking frame.
The same fabric can change under three lights
Natural light, warm indoor lamps, venue ceiling lights, studio lights, and phone night mode can all push the same fabric in different directions. Do not use the most flattering image as the only ordering standard.
For formal photos or offline events, prepare at least three reference groups: window natural light, common indoor light, and lighting close to the target venue or shoot. The priority should follow the scene where the outfit will actually be used.

- Natural light: best for reading basic hue and value.
- Warm indoor light: can push skin tones yellow or orange.
- Cool venue light: can make light tones look gray or pink.
- Heavy filters: keep them as mood references only.
Character design changes the color path
Not every character path wants a natural flesh tone. BJD-like pale skin, warm idol skin, deeper skin tones, masculine character texture, fantasy colors, tattoos, and markings all need to be described before the maker interprets the order as a common skin-tone request.
Special colors also need more practical questions: whether the color lightens under stretch, whether strong light shows the underlayer, whether washing or friction affects it, and whether markings distort around elbows, knees, waist, and other stretch zones.
- Regular skin-tone sort: prioritize shell, neck, hands, and feet as one body.
- Pale sort: ask about grayness, transparency, and shell disconnection under strong light.
- Deeper tone sort: ask about opacity, seam behavior, and stretch lightening.
- Fantasy color or markings: ask about fading, washing, friction, and distortion.
Stretch, thickness, and sheen change color perception
The same nominal color can look different across fabrics and thicknesses. Thin fabric may fit closely and feel lighter, but it reacts more to underlayers, body lines, and lighting. Thicker fabric can improve opacity while adding heat, edge bulk, and wrinkle behavior.
Color therefore should not be discussed separately from thickness and material. This matters especially for masculine paths, tattoos, special colors, close-up photos, or anyone worried about underlayer show-through.
- Thin fabric: review opacity, underlayer influence, and close-up texture.
- Thicker fabric: review heat, edge bulk, movement, and wrinkle behavior.
- Matte fabric: usually fits the regular Kig skin path better.
- Glossy or gel-look paths: lighting affects them differently and they should not be judged as regular matte hadatai.
Send repeatable photos, not vague color words
A useful color packet is small and ordered: shell context, natural light, indoor light, target-scene light, exposed costume plan, tone-card preference, and unacceptable shifts such as too yellow, too pink, or too gray. Each image can be simple; order and repeatability matter more than long descriptions.
If information is missing, write that clearly. For example: the head shell has not arrived yet, venue lighting is not available yet, or the current tone is only a provisional reference. Stating uncertainty is safer than pretending the match is confirmed.

- Required: shell photo, shell-and-fabric context, and exposed costume areas.
- Recommended: one natural-light, one indoor-light, and one target-light reference group.
- Helpful: tone-card preference and unacceptable color shifts.
- Notes: shell pending, missing venue light, special color, or marking risks.
After delivery, repeat the context check
Pre-order color choice is a forecast. After delivery, repeat the check with the actual item: shell, neck, wrists, ankles, and the target lighting. Short try-on movements can reveal whether real skin appears at edges or whether the color separates during motion.
If a color issue needs after-sales communication, prepare the light condition, frame position, order notes, and affected scene. Do not only say the color is wrong; describe whether it is too yellow, too pink, too gray, too light, too dark, or disconnected in a specific light.
- Delivery day: photograph shell, neck, wrists, and ankles in one frame.
- Short try-on: raise arms, turn, and sit to check edge exposure.
- After-sales notes: light, position, image number, and order remarks together.
- Before handling: do not dye, bleach, wash aggressively, or heavily modify the item.
Reading notes
- Do not treat a single filtered, compressed, or flat product image as the color standard.
- Do not merge special colors, glossy paths, latex / rubber, and regular matte Kig skin into one color rule.
- Do not publish maker names, order screenshots, chat privacy, or buyer identity information.
Continue reading
How to Read Kig Review Photos Without Asking One Frame to Prove Everything
A beautiful Kig skin review photograph can be worth enjoying on its own. After that first impression, look for the lower shell rim and neck cover, wrists and ankles, five-finger fabric hands, five-toe feet, natural fabric wrinkles, and any access opening the frame actually shows. Missing details become maker questions rather than conclusions invented for the image.
Continue reading →New Kig Skin Arrived: Keep the First Record Before the First Try-On
A new Kig skin makes an immediate try-on tempting. Keep that excitement and give the package ten quiet minutes first: photograph the packaging, order note, top-ups, flat lay, head-shell context, hand-foot endpoints, and access openings. If the main details match, the short try-on becomes easier; if something is missing or unclear, the conversation no longer depends on memory.
Continue reading →Your First Maker Message: What Should Be Sent First?
The difficult part of a first Kig skin inquiry is rarely finding enough enthusiasm. The character is clear and the saved images are ready, yet the first message remains unfinished. Begin with the character version, use scene, references already available, existing gear, and the questions that need a maker’s judgment. Measurements, exact options, top-ups, lead time, after-sales terms, and photo permission can follow in later confirmations.
Continue reading →