Auto-detect first; manual choice is saved
Auto-detect first; manual choice is saved
When a Character Clicks: A Kig Body-Texture Brief
Define the character direction, coverage tests, endpoints, material limits, and event conditions before ordering.
Contents
Now · Start with the character that clicked
Quick take
The first question is not whether the fabric should simply be thicker, but what body texture the character needs. Build the message around the use scene, coverage under light, endpoints, material limits, movement, and event duration; ask for relevant samples and boundaries instead of a broad promise.
Start with the character that clicked
Start by admitting what happened: the character image, mood, proportion, or setting clicked. In this guide, that attraction is an aesthetic and character-design signal. The next step is a Kig / animegao body plan, not a judgment of the wearer’s body.
A body-texture brief describes how the character should read on camera and on site: proportion, line softness or structure, tone, material feel, endpoints, and event use. Wearer-side inputs such as height, shoulders, body volume, existing marks, heat tolerance, and support are planning inputs, not labels.
The use scene is the first swatch
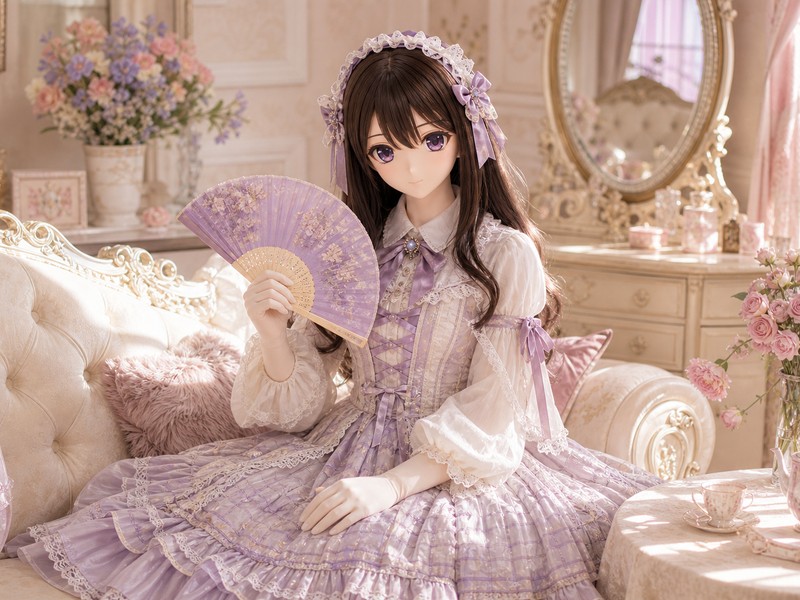
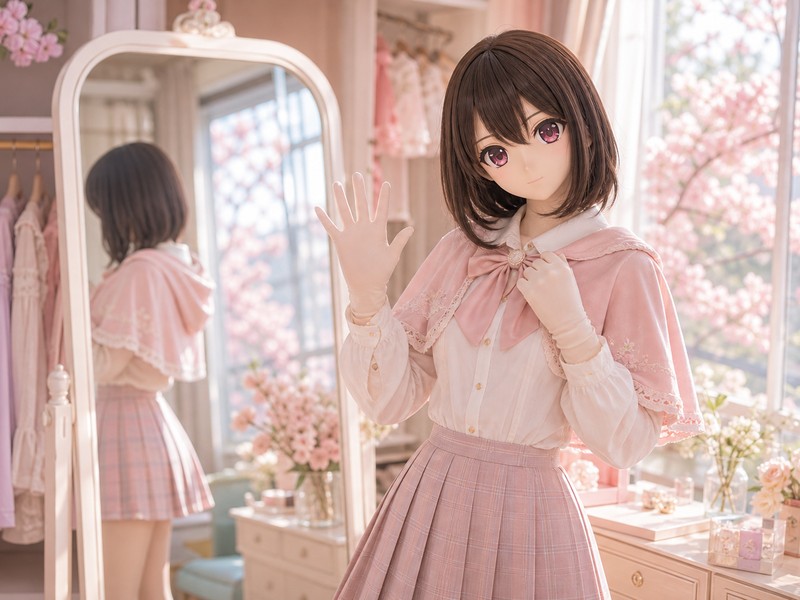
Do not begin by asking for a material word as if it solves the whole setup. Define the character direction first: slim, mature, sporty, neutral, battle-oriented, stylized-color driven, or marking-driven. Each direction asks a different question of thickness, costume volume, endpoint handling, and movement.
The same wearer can need different plans for different characters. A soft youthful style may ask for proportion and costume volume; a mature or battle style may keep more structure; a sporty style needs movement checks; a stylized-color design needs same-light references before tone is approved.
- Slim / youthful: check shell scale, wig volume, costume coverage, and line softening before adding thickness.
- Mature / battle: structure can be useful, but endpoints and garment language need to agree.
- Sporty: test motion range, pressure marks, wrists, elbows, knees, and phone or prop handling.
- Stylized color / markings: compare shell, independent neck, wrists, and ankles in the same light.
Thickness brings a bill with it
A thicker material may lower some close-up risks under tested conditions and make underlayer edges, existing marks, or tone differences less noticeable. It also adds heat, weight, dressing effort, drying and care cost, lower hand flexibility, and more friction during movement.
That is why thickness is not a grade badge, and a lighter material is not a failure. Thicker can serve coverage and visual unity; lighter can serve movement and heat management. The better question is which trade-off fits this character, this scene, and this event length.

- Coverage-first: ask for strong-light, stretch, underlayer, and same-frame samples.
- Movement-first: ask about arms, elbows, sitting, phone use, hydration, and dressing effort.
- Event-first: separate 15 minutes, 30–60 minutes, 1–2 hours, and longer use.
- Care-first: ask about dressing, drying, cleaning, access openings, and stop conditions.
Coverage changes under light and stretch
Coverage is not a flat-lay yes-or-no answer. Matte fabric can change when worn, stretched, lit strongly, raised overhead, seated, or walked in. Shoulders, neck, elbows, knees, waist, abdomen, and foot tops are common places for stretch lightening, underlayer edges, or shape hints to appear.
Write the coverage target precisely: underlayer edge, existing mark, tone difference, local line, or character marking. Then ask whether the maker can provide same or similar material references under strong light, slight stretch, and same-frame comparison, plus the conditions that cannot be promised.
- Strong light: ask whether underlayer colors, seams, or existing marks may show through.
- Stretch: check whether shoulder, elbow, knee, waist, and foot-top areas lighten or distort.
- Movement: sitting, raising arms, bending, and walking can change endpoint visibility.
- Limits: ask for test conditions and boundaries, not full-coverage guarantees.
Stylized color is not a quick recolor
Stylized character colors, character markings, existing-mark coverage, and glossy visual finish are separate routes. Regular Kig skin, matte hadatai, zentai-style full-body layers, glossy visual routes, and actual latex/rubber material routes should not be mixed into one promise.
Ask first whether the desired look is matte, lightly glossy, or strongly reflective. If it is a visual finish, ask what regular matte material can realistically do; if it is actual latex/rubber material, ask about heat, dressing, care, friction, and event limits. Character markings also need placement, stretch, friction, washing, and repair boundaries.

- Character color1: compare shell, independent neck, wrists, and ankles in one light setup.
- Character markings: ask about stretch, friction, cleaning, edges, and repair.
- Existing-mark coverage: plan to reduce visibility; do not write erasure promises.
- Glossy finish: confirm visual appearance versus actual material before discussing care and time.
The last ten centimeters decide close-ups
Even a beautiful main fabric can fail at the last ten centimeters: shell lower edge, independent neck transition, wrists, five-finger fabric hands, ankles, covered feet or five-toe covered feet, shoe openings, back zipper, and access openings. These are not minor edges; they are the surfaces the camera catches first.
Ask endpoints and motion together. Can the shell edge, wig, collar, and neck layer connect? Do wrists read as body-layer endpoints rather than ordinary cuffs? Can the hands handle props or a phone? Do foot tops or toes lighten near shoes? Can access openings support hydration, dressing, adjustment, and exit?
- Shell: compare diameter, lower rim, wig volume, and independent neck transition, not one number alone.
- Hands: check five-finger fabric hands, inner-wrist access, palm motion, and phone or prop use.
- Feet: check covered feet, five-toe covered feet, foot-top stretch, shoe opening, and walking comfort.
- Access: back zipper, face-window handling, and necessary openings should serve logistics, not decorative fantasy.
Write the first maker message
A maker / seller-ready first message only needs four things: character direction, use scene, main concerns, and what the maker should judge. Try: Hi, I want a Kig / animegao body plan for a [character direction], not just thicker material. The direction is [slim / mature / sporty / neutral / stylized color or markings], the scene is [home try-on / studio / short convention / longer event], and one session is about [time]. I want to confirm strong-light opacity, slight-stretch changes, shell same-frame color, wrist and ankle endpoints, heat, and movement range; please advise thickness, material, default inclusions, possible add-ons, sample references, and after-sale boundaries.
SKU/options are product-page specifications; the main item is the base order entry. Price-difference or small add-on links are usually settlement entries for already-discussed details, not separate finished items or confirmed structures. Ask whether the main item includes body fabric, face-window handling, independent neck transition, five-finger fabric hands, covered or five-toe feet, back zipper, and necessary access openings.
For sample checks, ask: Can you provide same or similar material swatches, shell same-frame references, strong-light opacity, and slight-stretch changes? If stylized color, character markings, or existing-mark coverage are involved, please state what cannot be promised under light, movement, friction, washing, or long wear.
- First message: character direction, scene length, main concerns, and what the maker should judge.
- Order structure: main item, SKU/options, add-on links, notes, and pre-production confirmation.
- Sample / photo checks: swatches, same-frame shell, strong light, stretch, and limits.
- Review fields: color gap, endpoints, heat, movement limits, access openings, and next-order changes.
Photographs do not replace hydration
Clear questions do not cool down the attraction; they help it survive the event. A 15-minute home try-on, a one-hour studio shoot, a half-day convention, and a hot outdoor session are different pressure systems. The shell, wig, costume, thicker material, underlayer, and venue temperature stack quickly, and a good photograph cannot bring water or find the exit.
The brief therefore ends with a field plan: where the water and straw are, who can help with the back and shell, where the rest point is, when access openings can be used, and how to stop if heat, dizziness, numbness, poor vision, or failed hydration appears. At that point the attraction has not been reduced; it has become something that can be ordered, tried on, and improved.
- 15 minutes: check wearing, endpoints, hydration, and exit first.
- 30–60 minutes: add motion, sitting, phone use, same-frame shell checks, and sweating notes.
- 1–2 hours: plan support, hydration, rest points, access openings, and outer-layer conflicts.
- Longer use: reduce the scene before forcing endurance.
Reading notes
- A male-character direction describes the character brief, not the wearer’s body category.
- Height, shoulders, body volume, and existing marks are fit, coverage, and logistics inputs.
- A thicker material may help coverage, but it is not a higher grade or a full-coverage promise.
Continue reading
Kig Fit Atelier: Proportion Before Size
A Kig look works when the shell, wig, shoulders, costume mass, skin base, endpoints, openings, and exit plan can share one frame. This guide turns body-fit anxiety into a fitting brief before standard size, custom work, SKU options, or top-up links enter the conversation.
Continue reading →Standard or Custom? Choose the First Kig Skin by Scene and Fit
The first Kig skin is not a status contest. A standard size can support a lower-commitment trial; limited adjustment can address a few known gaps; custom work may suit exposed areas, close-up photography, longer events, or a strict shell-tone match. If the selected options, top-ups, lead time, openings, endpoints, or rework terms remain unclear, keep asking before payment.
Continue reading →That Flash Under the Light: A Kig Material Wardrobe Report
A glossy Kig material photo can stop the scroll, but reflection is not a material ID. Separate the wardrobe into three directions first: matte body continuity, bodysuit or glossy-look fabric, and stronger visual materials such as latex or rubber, gel-like suits, or black gloss. Before ordering, put heat, dressing, care, color transfer, budget margin, schedule, and delay on the table. Shine can be persuasive; it should not place the order.
Continue reading →