Auto-detect first; manual choice is saved
Auto-detect first; manual choice is saved
The Night Before Your First Kig: What Comes After a Saved Image?
Begin with the scene that felt real; then plan the budget, try-on, questions, and first outing.
Contents
Now · What exactly made that saved image impossible to ignore?
Quick take
Most first nights are not dramatic. There is a photo opened three times, a product page with options that do not quite make sense, and a maker message still sitting unfinished. Before any checkout, write down three things: what is most compelling in the image, where the character should appear for the first time, and which discomfort or mistake feels hardest to accept. Those three answers give the budget, try-on, and conversation a real context.
What exactly made that saved image impossible to ignore?
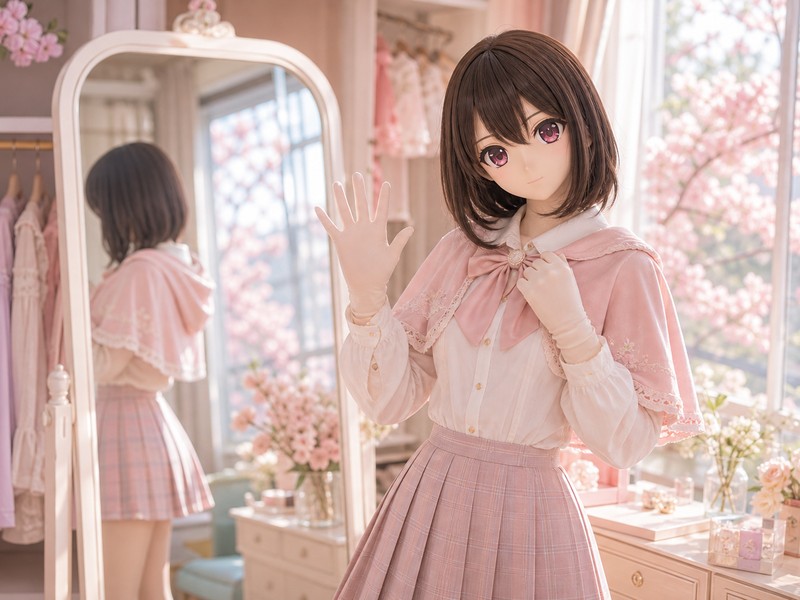
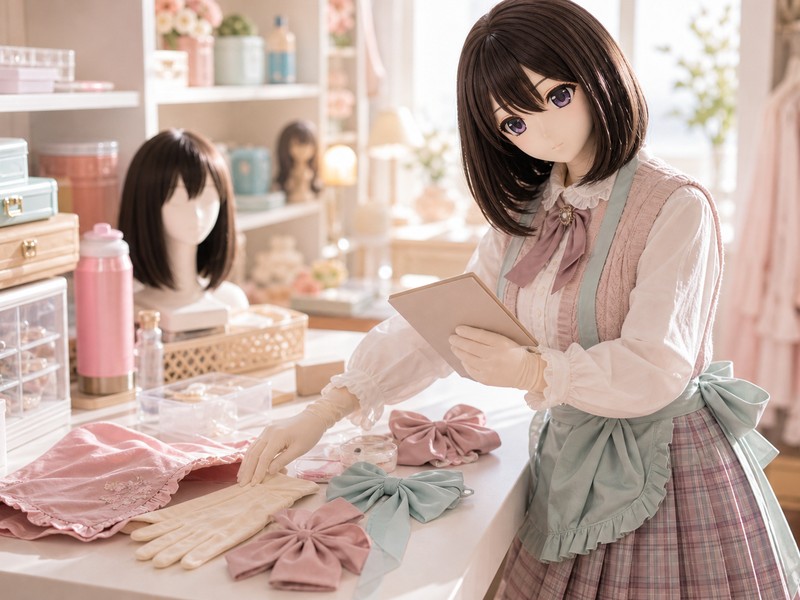
The image does the first piece of work. Perhaps the head shell has a quiet gaze and carefully shaped cheeks. Perhaps the wig, clothing, and Kig skin join into one complete silhouette. Or perhaps the scene is the real hook: a fabric-covered hand reaching toward the camera in a convention corridor.
That attraction does not need to be defended, but it does need to become specific. A fascination with the face points toward head-shell style, stability, sightline, and the neck transition. A fascination with full-body continuity brings tone, hand and foot endpoints, garment coverage, and costume volume forward. If the finished photograph is the main draw, lighting, camera distance, movement, and collaboration matter as much as any single piece of gear.
The point is not to rank different kinds of interest. It is to stop one wish from being mistaken for another. A portrait session and half a day in a crowded convention hall are two very different first appearances.
- Drawn to the face: begin with shell curves, eye plates, sightline, fixing, lower rim, and wear stability.
- Drawn to the full silhouette: look at tone continuity, neck, wrists, ankles, garment exposure, and hand-foot endpoints.
- Drawn to the photograph: note light direction, camera distance, movement range, and outfit volume instead of crediting one item for the whole image.
- Drawn to the offline atmosphere: include crowd density, hydration, rest, support, transport, and leaving time in the same expectation.
Do not translate the first spark into a complete setup just yet
Beginner discussions often hold the same confusion in different forms: a standard size arrives far looser than expected, or someone moves back and forth between a shell, wig, Kig skin, and outfit without knowing which piece should come first. There is no universal first purchase. Change the body measurements, the character design, or the first scene, and the order of preparation changes with it.
A calmer start is to identify the current stage. Perhaps this is still a period of looking and learning. Perhaps a short, trusted try-on would answer more than another week of browsing. Perhaps a head shell already exists and the body layer is the missing part. Or perhaps the first scene, budget ceiling, lead time, and support needs are clear enough to begin a maker conversation.
If the budget would strain ordinary life, privacy or body boundaries are unsettled, or delays, adjustment, and after-sales communication feel unacceptable, closing the payment page is the sensible choice. The interest will still be there tomorrow.
- Keep looking: save three genuinely useful images and mark whether each one is about the face, silhouette, material, or atmosphere.
- Try first: use a brief, trusted try-on or portrait session to learn about sightline, heat, pressure, and coverage.
- Prepare to order: begin only when the first scene, budget ceiling, existing gear, acceptable lead time, and after-sales expectations can be stated clearly.
- Wait: pause whenever physical discomfort, privacy pressure, or financial pressure has no acceptable answer.
The first appearance decides where the first budget belongs
The same equipment behaves differently in different settings. A home try-on only has to meet a mirror, a short period of wear, and basic handling. A portrait session enlarges the shell tone, neck, shoulder line, and wrists. A convention brings sightline, walking, hydration, restroom access, support, storage, and the journey home into the picture at once.
The most useful line in a beginner notebook is therefore not a brand or a price. It is the place where the character should feel real for the first time. Once that sentence is clear, sizing, tone, hands, feet, access openings, and outfit volume have a scene to answer to.

- Home try-on: check shell fixing, sightline, breathing and mouth-nose comfort, heat, coverage, and basic hand use.
- Portrait or head-and-shoulder session: prioritize the shell, neck transition, shoulder line, wrists, and tone under the intended light.
- Full studio shoot: fit, wrinkles, hand-foot endpoints, garment volume, movement, and camera distance all enter the frame.
- Meetup, convention, or outdoor use: add support, hydration, rest, restroom access, transport, weather, and a clear leaving time.
Standard size, custom work, and a short try-on all begin with body comfort
Standard sizing can make a first trial less expensive, but it is not a promise that most bodies will fit. Shoulder width, torso length, waist and hip ease, wrist opening, and foot length can all change the wrinkles on camera and the freedom to move.
Custom work is not an automatic path to perfection either. Measurement definitions, the maker's pattern, exposed areas, target material, lead time, and adjustment window all affect the result. Whichever direction is chosen, keep a short try-on and a written record in the process.
There is no universal safe duration for a first session. Start only long enough to notice pressure, heat, dizziness, poor sight, difficulty reaching a bottle or phone, and whether communication with a support person remains easy. Stop at the first sign of discomfort; endurance is not a qualification test.
- Record shoulder width, torso length, waist and hip ease, hand circumference, wrist opening, foot length, and the exact wrinkle locations.
- Test the head shell and its sightline before adding the Kig skin, clothing, shoes, and accessories; this makes the source of discomfort easier to find.
- Increase wear time or movement only after the previous stage feels fully comfortable, and agree on a pause signal with support.
- A poor fit describes the pattern, size, or use scene—not the body wearing it.
The product-page price is only the opening line of the order
Labels such as ‘in stock,’ ‘full package,’ ‘made to measure,’ and ‘full price’ can make an order look complete before its parts are visible. In practice, one purchase may contain a main item, selectable SKU options, top-up links, and separate additions for fabric, hands, feet, access openings, chest-related structure, storage, or rush work.
A search-result number therefore does not belong in the final budget by itself. Before paying, keep the main link, the full selected SKU wording, every top-up and the item it belongs to, the point when lead time begins, and the after-sales window in one record. Any maker reply that changes the finished item or the price should also be written into the order note or another record accepted by both sides.

- Main item: confirm whether the link is a deliverable product, deposit, final payment, display page, or another kind of listing.
- Selected SKU: save the exact color, size or version, tone, thickness, hand-foot setup, access openings, quantity, and a dated screenshot.
- Top-ups: name the corresponding option for every payment; phrases such as ‘single purchase, no shipping’ usually describe a settlement link, not a separate item.
- Special additions: confirm fabric upgrades, nail pieces, storage, rush work, special tones, and chest-related structure separately.
- Time and after-sales: ask when the queue starts, how shipment is described, how quickly delivery issues must be reported, and what adjustment or rework can include.
Buyer photos offer details, not a verdict
A buyer photo makes an abstract description tangible. It can show how fabric creases during movement, whether fabric fingers bend naturally, how the toes meet a shoe opening, or whether the shell and wrist remain close in tone under one light. It is useful material for observation, but it cannot promise that another size, tone, or option set will produce the same result.
Official images, buyer photos, unboxing records, long-term notes, comments, and maker replies answer different questions. When a same-light tone comparison, hand-foot close-up, or access opening is missing, leave that point open and ask for it instead of completing the picture from imagination.
Community comments can reveal recurring questions about lead time, fit, and communication. A single shop mention cannot establish current capability, a final quote, delivery quality, or after-sales terms, and it should not become a ranking.

- Tone: prefer a frame that includes the shell, neck, wrists, and intended light; do not compare unrelated photographs as if their lighting were identical.
- Hands and feet: inspect natural bending, object handling, walking, wrist and ankle edges, and the meeting point with shoes.
- Fit and wrinkles: consider the wearer's measurements, pattern, and movement; one photograph cannot stand in for every body or use scene.
- Access opening1s: ask about location, concealment, zipper pull, and actual handling whenever the image does not show them.
- Delivery day: before washing or altering, photograph the original condition, fit, seams, openings, and shipping damage against the order note.
For the first outing, write the exit into the anticipation
The remembered part of a first outing may be the moment a camera turns, another fan comes closer, or the character finally moves beyond a bedroom mirror. What determines whether the day remains a good memory is often outside the frame: whether the ground is visible, where the water is, where the head shell can be removed safely, and who can guide a quick exit when the body says stop.
Backstage preparation does not cool the excitement; it gives that excitement room to last. A modest first outing is enough: change without panic, take a few photographs worth keeping, drink in time, pause before discomfort escalates, and bring the head shell, wig, and Kig skin home in good condition. Staying until closing is not a higher achievement than leaving as planned.
If social pressure is part of the worry, prepare short lines before leaving: ‘This is my first event, so I am staying at the edge for a while’; ‘The head shell feels warm, so I am taking a water break’; ‘Please do not touch right now.’ Having the words ready avoids inventing a long explanation while hot and nervous.
- Support should be ready to watch the path, hand over water, explain a pause, and guide the wearer away from a crowd.
- Confirm the rest point, restroom path, safe place to remove the shell, temporary shell storage, and transport home before departure.
- Test shoes, hand openings, access openings, bottle handling, and phone use at home instead of discovering them in a crowd.
- Adjust the outing to the body's condition. A short appearance, a few good photographs, and a safe trip home still make a complete first day.
Reading notes
- This guide covers a first regular Kig skin / hadatai plan. Zentai, glossy-look fabrics, latex or rubber, and gel suits have different materials, care, and use conditions.
- Prices describe order structure rather than live quotes. Confirm the current product page, selected SKU, maker reply, top-ups, shipping, and order note before payment.
- Short try-ons are examples, not universal safe durations. Heat, dizziness, poor sight, pressure, anxiety, or any other discomfort means stop immediately.
Continue reading
Standard or Custom? Choose the First Kig Skin by Scene and Fit
The first Kig skin is not a status contest. A standard size can support a lower-commitment trial; limited adjustment can address a few known gaps; custom work may suit exposed areas, close-up photography, longer events, or a strict shell-tone match. If the selected options, top-ups, lead time, openings, endpoints, or rework terms remain unclear, keep asking before payment.
Continue reading →Kig Budget Calculator: After the Low-Price Spark, How Far Should This Order Go?
A Kig photograph, a character idea, and a low entry price can make the order feel suddenly reachable. The budget page separates search-result prices, selected options, payment stages, top-up links, storage, rework, and event logistics, then leaves four sensible outcomes: a trial, custom planning, a clearer order, or saving the idea for later.
Continue reading →The First Kig Outing: Pack the Excitement and the Way Home
A first Kig outing packs more than a head shell and body layer. Hydration, cooling, sightline, support, restroom access, rest points, a repair pouch, storage, photo boundaries, and a clear way home determine whether the day ends with good photographs or an exhausting recovery. A short, calm, well-supported appearance is already a real start.
Continue reading →